常用
方法异步调用
例子
// 假设这是一个返回 Promise 的异步函数
function fetchData() {
  // 创建异步对象
  return new Promise((resolve, reject) => {
    setTimeout(() => {
      //返回对象后说明方法已经结束
      resolve('数据加载成功!');
    }, 1000);
  });
}

// 这是一个 async 函数,它会等待 fetchData 完成
async function loadDataAndDisplay() {
  try {
    const data = await fetchData(); // 等待 fetchData 完成,并获取其结果
    console.log(data); // 输出 "数据加载成功!"
  } catch (error) {
    console.error('加载数据出错:', error);
  }
}

// 调用 async 函数,不需要额外的处理,因为它会自动处理返回的 Promise
loadDataAndDisplay();
说明
Promise 是 JavaScript 中的一个对象,用于处理异步操作。它代表了一个可能现在还不可用,但将来某个时间点会确定的值或拒绝的原因。Promise 对象有三种状态:pending(等待中)、fulfilled(已成功)和 rejected(已失败)。一旦 Promise 的状态从 pending 变为 fulfilled 或 rejected,这个状态就不会再改变。

Promise 的主要特点是它的链式调用处理异步操作的方式,使得异步代码看起来和同步代码更相似,更易于理解和维护。通过 .then() 方法,你可以指定当 Promise 成功解决(fulfilled)时要执行的回调函数;通过 .catch() 或在 .then() 的第二个参数中,你可以指定当 Promise 被拒绝(rejected)时要执行的回调函数。

Promise 常常与 async/await 语法一起使用,使得异步代码更加简洁和直观。在内部,async/await 语法实际上是基于 Promise 的,async 函数总是返回一个 Promise,而 await 表达式则是等待一个 Promise 的解决,并返回其结果。
父页面子页面
引入子页面
子页面
<!-- ChildPage.vue -->
<template>
  <div>
    <!-- 子页面的内容 -->
    <h1>这是子页面</h1>
  </div>
</template>

<script>
export default {
  name: 'ChildPage',
  // 子组件的逻辑
}
</script>

<style scoped>
/* 子组件的样式 */
</style>
父页面
<!-- ParentPage.vue -->
<template>
  <div>
    <!-- 父页面的内容 -->
    <h1>这是父页面</h1>
    <!-- 使用子组件 -->
    <ChildPage />
  </div>
</template>

<script>
// 导入子组件
import ChildPage from './ChildPage.vue';

export default {
  name: 'ParentPage',
  components: {
    // 注册子组件
    ChildPage
  },
  // 父组件的逻辑
}
</script>

<style scoped>
/* 父组件的样式 */
</style>
调用父页面方法
子页面
<template>
  <button @click="callParentMethodWithParams">调用父组件方法并传递参数</button>
</template>

<script>
export default {
  methods: {
    callParentMethodWithParams() {
      // 调用 $emit 并传递参数
      this.$emit('call-parent', '参数1', '参数2');
    }
  }
}
</script>
父页面
<template>
  <div>
    <ChildComponent @call-parent="parentMethodWithParams" />
  </div>
</template>

<script>
import ChildComponent from './ChildComponent.vue';

export default {
  components: {
    ChildComponent
  },
  methods: {
    parentMethodWithParams(param1, param2) {
      console.log('父组件的方法被调用了,参数是:', param1, param2);
      // 在这里执行你的逻辑,并使用传递的参数
    }
  }
}
</script>
子页面获取父页面data的数据
父页面
<template>
  <div>
    <p>父组件的数据: {{ parentData }}</p>
    <child-component :child-prop="parentData"></child-component>
  </div>
</template>

<script>
import ChildComponent from './ChildComponent.vue';

export default {
  components: {
    ChildComponent
  },
  data() {
    return {
      parentData: '这是父组件的数据'
    };
  }
};
</script>
子页面
<template>
  <div>
    <p>子组件接收到的数据: {{ childProp }}</p>
  </div>
</template>

<script>
export default {
  props: {
    childProp: {
      type: String,
      required: true
    }
  }
};
</script>
vuex
使用store管管理状态
创建store
下面是一个使用
this.$store.dispatch来调用 Vuex 中定义的 action 的例子。在这个例子中,我们将创建一个简单的计数器应用,其中包含一个增加计数值的 action。首先,我们需要在 Vuex store 中定义这个 action:
// store.js
import Vue from 'vue';
import Vuex from 'vuex';

Vue.use(Vuex);

export default new Vuex.Store({
  state: {
    count: 0
  },
  mutations: {
    increment(state) {
      state.count++;
    }
  },
  actions: {
    incrementAction({ commit }) {
      commit('increment');
    }
  }
});
在这个 store 中,我们定义了一个状态
count,一个 mutationincrement来修改这个状态,以及一个 actionincrementAction来触发这个 mutation。注意,action 通过调用commit方法来触发 mutation,而不是直接修改状态。这是 Vuex 的一个关键原则,以确保状态的变更能够被清晰地跟踪。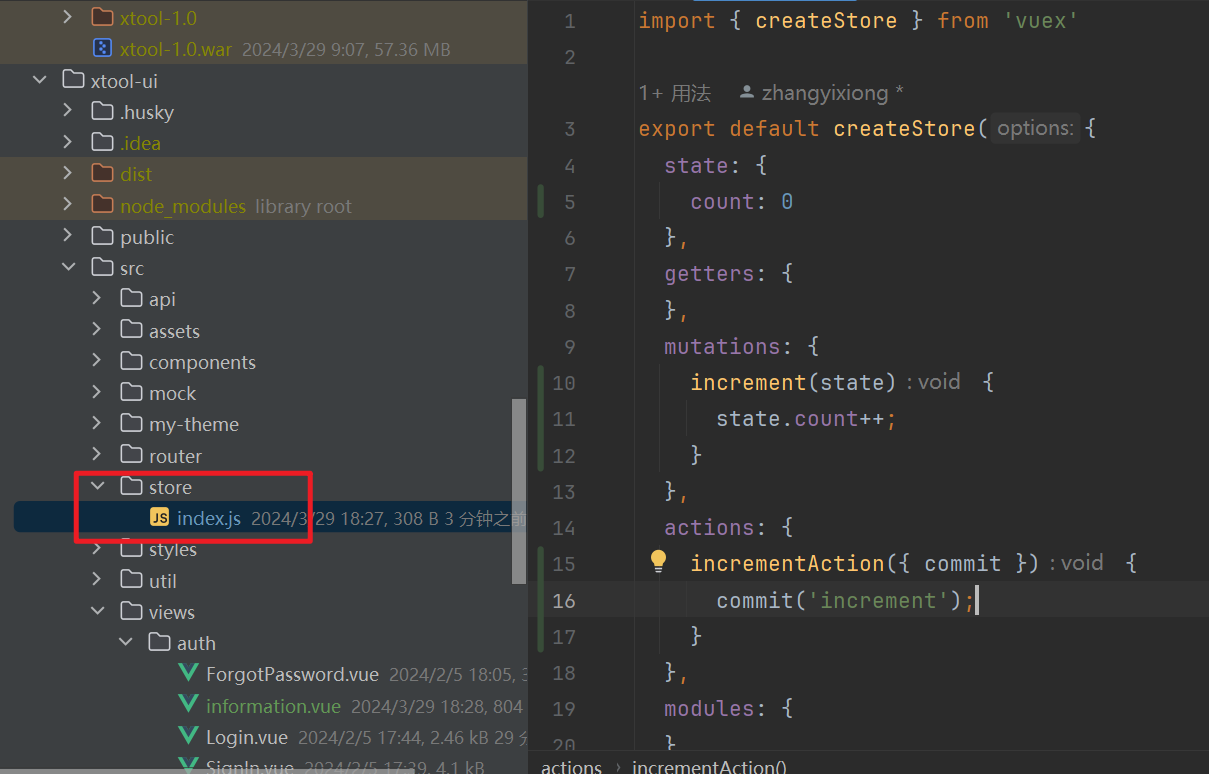
创建vue
调用action
<!-- Counter.vue -->
<template>
  <div>
    <p>当前计数: {{ count }}</p>
    <button @click="incrementCount">增加</button>
  </div>
</template>

<script>
export default {
  computed: {
    count() {
      return this.$store.state.count;
    }
  },
  methods: {
    incrementCount() {
      this.$store.dispatch('incrementAction');
    }
  }
};
</script>
main.js 引入store
// main.js
import Vue from 'vue';
import App from './App.vue';
import store from './store';

new Vue({
  store,
  render: h => h(App)
}).$mount('#app');