安装
准备工作
升级
yum install epel-release -y
yum update -y
安装jdk
安装
yum install -y java-1.8.0-openjdk
配置环境变量
# 查看是否有环境变量
echo $JAVA_HOME
# 设置环境变量
echo "JAVA_HOME=$(readlink -f /usr/bin/java | sed "s:bin/java::")" | sudo tee -a /etc/profile
# 刷新配置
source /etc/profile
# 查看效果
java -version
安装mq
下载
wget http://archive.apache.org/dist/activemq/5.15.5/apache-activemq-5.15.5-bin.tar.gz
解压到opt
tar -zxvf apache-activemq-5.15.5-bin.tar.gz -C /opt/
# 创建软连接
ln -s /opt/apache-activemq-5.15.5/  /opt/activemq
cd /opt/activemq/bin
常用命令
原生
启动
./activemq start
看状态
./activemq status
重启
./activemq restart
关闭
./activemq stop
创建系统服务
创建
vim /usr/lib/systemd/system/activemq.service
输入
[Unit]
Description=activemq message queue
After=network.target
[Service]
PIDFile=/opt/activemq/data/activemq.pid
ExecStart=/opt/activemq/bin/activemq start
ExecStop=/opt/activemq/bin/activemq stop
User=root
Group=root
Restart=always
RestartSec=9
StandardOutput=syslog
StandardError=syslog
SyslogIdentifier=activemq

[Install]
WantedBy=multi-user.target
命令
systemctl enable activemq
systemctl start activemq
systemctl status activemq
systemctl stop activemq
使用
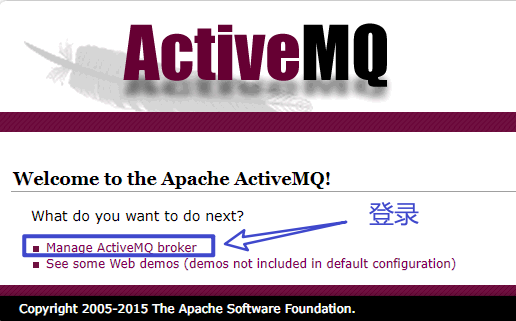
访问控制台页面
http://192.168.31.245:8161
账号密码都为admin
添加用户
cd /opt/activemq/conf
vim activemq.xml
在borker节点添加
<plugins>
    <simpleAuthenticationPlugin>
        <users>
            <authenticationUser username="xiong" password="123456" groups="users,admins"/>
        </users>
    </simpleAuthenticationPlugin>
</plugins>
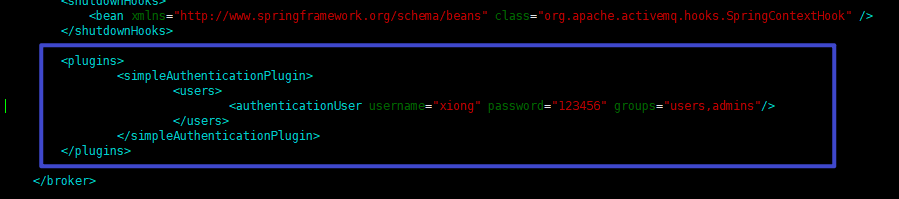
之后重启服务
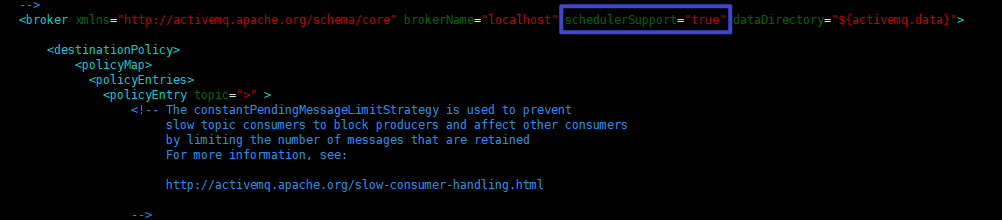
延时消息
延迟队列需要在
测试
略